Start with the ETRTO size
The most useful starting point is the ETRTO marking on the current tyre. In a size such as 37-622, 37 is the nominal tyre width in millimetres and 622 is the tyre’s bead-seat diameter. The diameter must match the rim. The familiar labels 700C, 28-inch and 29-inch can all be associated with a 622mm bead-seat diameter, which is why the ETRTO number removes ambiguity.
Do not assume the same printed width will measure identically on every rim. Actual width changes with the tyre design and internal rim width. A wider replacement also needs clearance around the frame, fork, brakes and mudguards, including space for wheel flex, debris and any minimum clearance required by the bicycle maker.
The tyre must also be permitted for the rim’s width and construction. Hooked and hookless rims, tube-type and tubeless systems, and their permitted tyre combinations and pressures are not interchangeable assumptions. Check the current instructions from both the tyre and rim makers.
- Match the bead-seat diameter exactly.
- Confirm the tyre width is approved for the rim and clears the bicycle.
- Check whether the rim and tyre are designed for a tube, tubeless use, or both.
- Respect the lower applicable pressure limit where the tyre and rim state different maximums.
- Recheck mudguard, brake, frame and fork clearance after inflation.
Choose the casing and tread for the journey
| Riding | Useful characteristics | Trade-offs to examine |
|---|---|---|
| Urban commuting and touring | Durable casing, dependable wet grip, puncture protection and a width that provides comfort under luggage | Heavy protection layers can add mass and may feel less supple |
| Road riding | Appropriate slick or lightly patterned tread, supple casing and a width suited to the rim, clearances and road conditions | A light performance tyre may sacrifice tread life or puncture protection |
| Gravel and mixed surfaces | Volume for rough ground, shoulder grip, a tread pattern suited to loose sections and casing protection for the route | More aggressive tread and heavier protection can increase drag on smooth roads |
| Mountain biking | Tread, compound and casing chosen for terrain, front or rear role, speed, impacts and braking demands | A fast dry-trail tyre may not provide the braking or mud clearance needed elsewhere |
| E-bike or cargo use | Correct size plus a casing and load capacity approved for the complete bicycle, speed category and intended load | An “e-bike” label does not override rim, clearance, pressure or total-load limits |
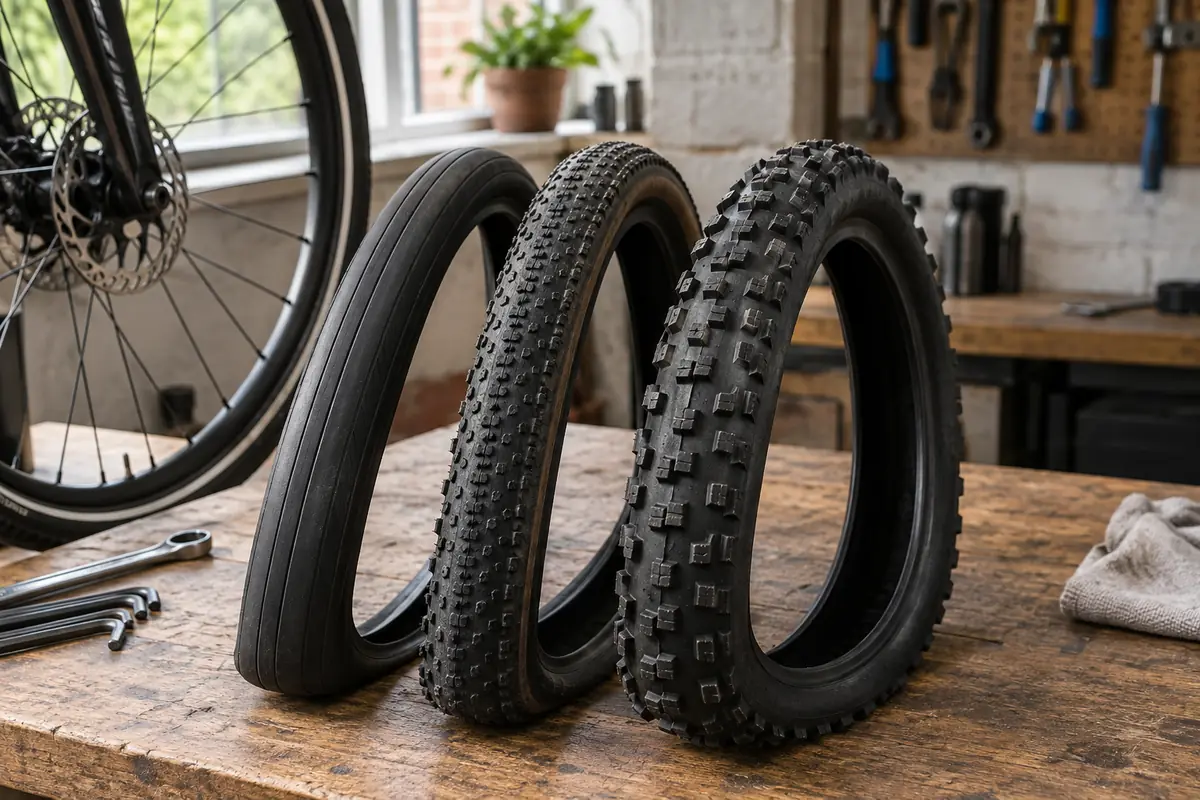
More tread is not automatically more grip. On clean tarmac, rubber compound, casing behaviour, pressure and the contact patch matter; large knobs are designed to engage loose surfaces. A tyre that excels in soft ground can feel slow and vague on the road, while a fast smooth tyre can lack control in mud.
Puncture protection also involves compromise. A thicker belt or stronger casing may reduce some penetrations and pinch damage, but can increase weight and stiffness. Match protection to the route rather than choosing solely by the number of protection layers in a product description.
Inner tube, tubeless-ready or tubeless?
Tyre with an inner tube
The tube must cover the tyre’s diameter and width and use a valve that suits the rim. A new tyre does not require a new tube automatically, but an old, stretched, patched or damaged tube deserves inspection.
Convertible when every part agrees
A tubeless-ready label means the tyre is designed to be part of a suitable tubeless system. The rim, tape, valve, sealant and inflation limits must all be compatible.
Maintenance does not disappear
Tubeless can seal small penetrations and allow pressure choices that suit some riding, but sealant dries, valves clog and larger cuts still need a repair or tube.
Never attempt a tubeless conversion simply because a tyre can be mounted without a tube. Use only combinations approved by the relevant manufacturers. High-pressure road tubeless and hookless systems deserve particular care because an incompatible tyre, rim or pressure can cause sudden air loss.
For current tube options, see the inner-tube comparison. Carrying a compatible spare tube can still be useful on a tubeless ride when a cut will not seal.
Tyre pressure is a range, not one universal number
The correct pressure depends on the tyre and rim limits, total system weight, tyre volume, surface, speed, riding style and whether the setup uses a tube or is tubeless. The maximum printed on a sidewall is not a target for every rider. It is also not permission to exceed a lower rim limit.
Start with the bicycle, tyre or rim maker’s guidance for the exact setup. Adjust within the permitted range in small steps. Too little pressure can allow excessive casing movement, rim strikes, pinch punctures or tyre instability. Too much can reduce comfort and grip and may exceed a component limit.
Use an accurate gauge, check pressure when the tyre is cold and inspect both tyres regularly. A slow pressure loss can indicate a puncture, valve problem, damaged rim tape or a tubeless sealant issue rather than a need to keep topping up indefinitely.
When should a bike tyre be replaced?
Replace a tyre immediately if the casing is exposed or damaged, a bulge appears, the bead is damaged, the tyre will not seat correctly, or a cut compromises the structure. Do not place a cosmetic boot over a structural failure and continue normal riding.
Age alone does not produce one reliable replacement interval because storage, sunlight, heat, pressure, load, road debris and mileage differ. Inspect the entire circumference and sidewalls. Repeated punctures, a squared-off tread, loss of intended tread features or widespread deep cracking can indicate that replacement is due even if no single hole is dramatic.
After fitting, check that the bead line is even on both sides, the wheel turns without rubbing and any directional arrow is correct. Recheck pressure and seating before riding. If mounting requires excessive force, the bead appears damaged or you are uncertain about a hookless or tubeless combination, stop and use a qualified mechanic.
Next steps
Return to the bike parts hub, compare puncture-repair kits, or follow the guides to change a bike tyre and repair a puncture.