The short version
- Fat-bike tyres are commonly around 3.8–5 inches wide
- They are most useful on sand, snow and very soft or broken ground
- Low pressure creates grip and flotation but needs careful setup
- For ordinary UK trails, a lighter mountain bike is usually faster and easier to service
| Bike type | Typical tyre | Best use | Main trade-off |
|---|---|---|---|
| Fat bike | 3.8–5in | Sand, snow, soft ground | Weight and rolling drag |
| Plus bike | 2.6–3.0in | Rough trails and comfort | Fewer tyre choices than standard MTB |
| Trail MTB | 2.3–2.6in | Most UK trail riding | Less flotation on very soft surfaces |
| Gravel bike | 40–55mm | Roads, towpaths and firm tracks | Less grip and cushioning off-road |
What makes a bike a fat bike?
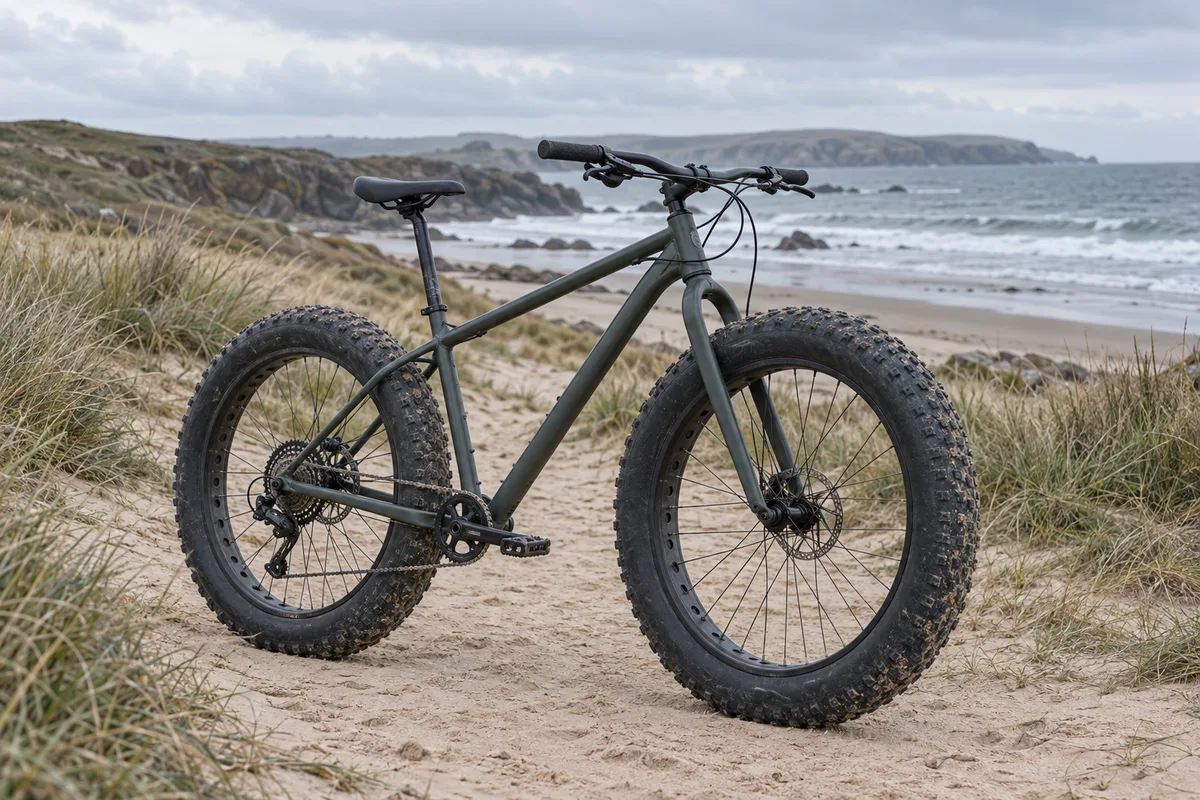
A fat bike is built around tyres much wider than those on a normal mountain bike. The frame and fork need generous clearance, while the rims, hubs and bottom-bracket area are often wider to keep the chain and cranks clear of the tyre.
Four-inch tyres are the familiar middle of the category. Smaller-wheel bikes may use 20×4-inch rubber, while conventional pedal fat bikes commonly use 26-inch wheels with tyres around 4–5 inches wide. The outside diameter can still resemble that of a normal 29er because the tyre is so deep.
Width is only useful when the casing, tread and pressure suit the surface. A heavily inflated four-inch tyre can bounce and skate; a pressure that is too low can squirm, strike the rim or roll from the bead.
Where fat bikes work
Soft sand and snow are the clearest cases. A broad contact patch helps the tyre float rather than cut straight through, letting a rider continue where a narrow tyre sinks or spins.
Fat tyres can also add confidence on loose gravel, roots and broken tracks. That does not turn every fat bike into a capable trail bike: geometry, brakes, wheels and the rider's line choice remain more important than visual bulk.
On firm tarmac the same casing deforms on every rotation, increasing drag and making direction changes feel slower. A conventional mountain bike, hybrid or gravel bike is normally easier to pedal, carry and find replacement tyres for.
Use only routes where cycling is permitted. Coastal dunes, footpaths, wet moorland and fragile winter trails can be damaged even by a low-pressure tyre, and very soft conditions are often a reason to turn back rather than evidence that the bike can continue.
Tyres, rims and pressure
Tyre pressure is the key adjustment. Start from the tyre maker's range, then change in small steps for rider mass, rim width, casing, load and terrain. Use an accurate low-pressure gauge; a normal track-pump dial may be too coarse at fat-bike pressures.
More pressure reduces squirm and rim-strike risk on hard ground. Less pressure increases the contact patch on soft ground. If the tyre folds in corners, strikes the rim or feels vague under braking, the setup is too soft for that load and surface.
Tubeless setups can reduce pinch punctures and allow lower pressure, but the large casing needs compatible rims, tape, valves and enough sealant. Inspect the bead carefully after setup and carry a tube or repair method suitable for the tyre volume.
Handling, geometry and fit
Wide tyres resist leaning and can follow cambers or ruts differently from normal mountain-bike rubber. Good fat-bike geometry accounts for that; simply fitting the widest tyre into a stretched frame does not create predictable handling.
Check stand-over, reach and crank width. Fat-bike chain lines can push the pedals farther apart, which some riders notice at the knees or hips. A short test ride is more informative than assuming the nominal frame size matches another bike.
Weight at the wheels affects acceleration and climbing. A non-electric fat bike with appropriate low gears can be enjoyable on soft terrain, but it will feel laboured if most rides are on firm roads.
Advantages and disadvantages
The advantages are real but specialised: flotation on soft ground, abundant tyre cushioning, strong low-speed grip and a stable feel when the surface is loose.
- Advantage: access to sand, snow and soft routes that stop narrower tyres
- Advantage: tyre volume can absorb small impacts without suspension
- Advantage: stable low-speed feel when pressure is correct
- Disadvantage: high rolling resistance on firm surfaces
- Disadvantage: heavier wheels, tyres and frames
- Disadvantage: specialist rims, tubes, tyres and transport needs
Components and maintenance
Confirm local availability of the exact tyre size, tube, rim tape and spoke length. A four-inch label is not enough: bead-seat diameter, rim width and frame clearance must all match.
Large tyres can hide a slowly falling pressure, so check with a gauge before riding. Inspect sidewalls, beads and rims after low-pressure impacts, and clean sand or salt from the drivetrain and brakes before it becomes grinding paste.
Transport can be the awkward part. Standard roof trays, hanging racks and workshop stands may not accept the tyre width or complete weight. Measure first and use adapters only where the rack maker approves them.
How to choose a fat bike
Start with the recurring surface. If sand, snow or soft ground is only an occasional novelty, a trail mountain bike with modern 2.4–2.6-inch tyres is likely the more versatile purchase.
For genuine fat-bike use, prioritise frame fit, low gearing, suitable brakes, tyre and tube availability, tubeless compatibility and a realistic transport plan. Suspension is optional because the tyres provide cushioning; it adds control only when the fork is well matched and maintained.
Electric assistance changes the calculation by masking tyre drag but adding battery, motor and frame weight. Read the separate fat-tyre electric-bike guide before treating a heavy e-fat bike as an easier version of the same bicycle.