The short version
- If a step feels uncertain, stop and use a qualified bicycle mechanic.
- Never ride with brakes, steering or wheels that you suspect are unsafe.
- Use the component manufacturer's instructions for torque settings and model-specific procedures.
Before you start
Record the complete sidewall size and the wheel's tube, tubeless and rim requirements before removing the old tyre. Compare the new tyre's bead-seat diameter, permitted rim range, direction marking and frame clearance instead of relying only on a familiar inch or 700C label.
- Use tools that fit the fastener properly
- Keep small parts in removal order
- Do not force a seized or cross-threaded component
- Check the maker's manual for your exact part
Check size, bead and clearance before fitting
Use the ETRTO number on the sidewall where possible: the bead-seat diameter must match the rim exactly. A wider tyre also needs enough rim support and clearance from the frame, fork, brakes and mudguards throughout the wheel's rotation.
Inspect the replacement for a rotation arrow and identify whether it is designed for a tube or a tubeless system. A damaged bead, distorted casing or tyre that repeatedly climbs off the rim should not be ridden.
Decide why the old tyre is being replaced. Exposed casing, a bulge, bead damage or a structural cut calls for replacement; a single punctured inner tube does not automatically mean the tyre itself is unusable once the cause has been removed.
Step by step
- 1
Record the size printed on the old tyre and confirm rim compatibility.
- 2
Remove the wheel and fully deflate the tube.
- 3
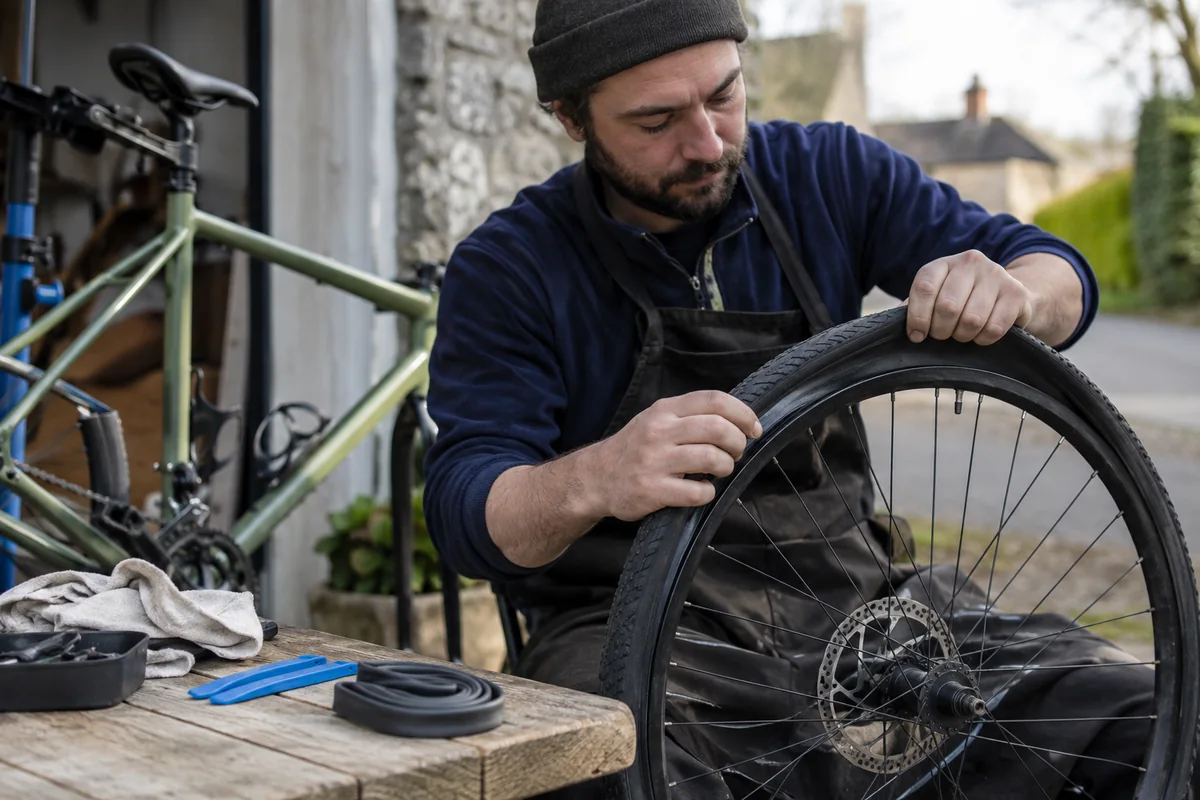
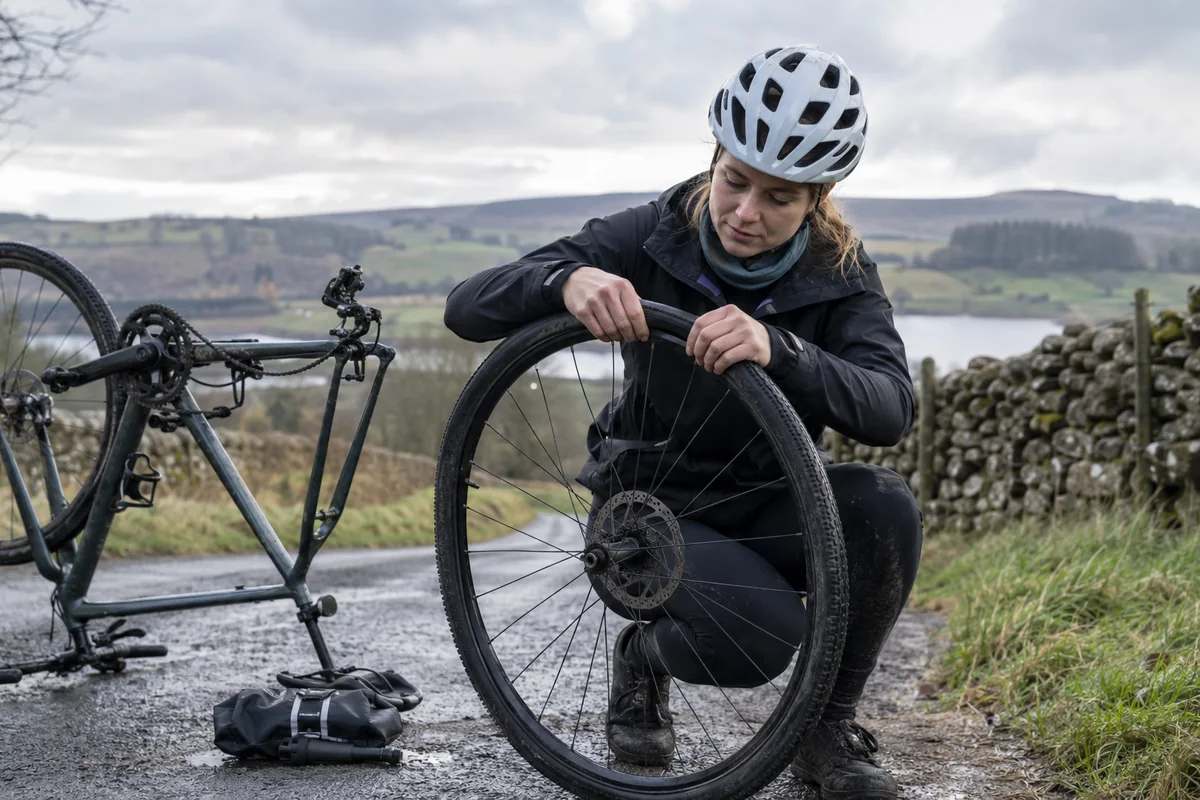
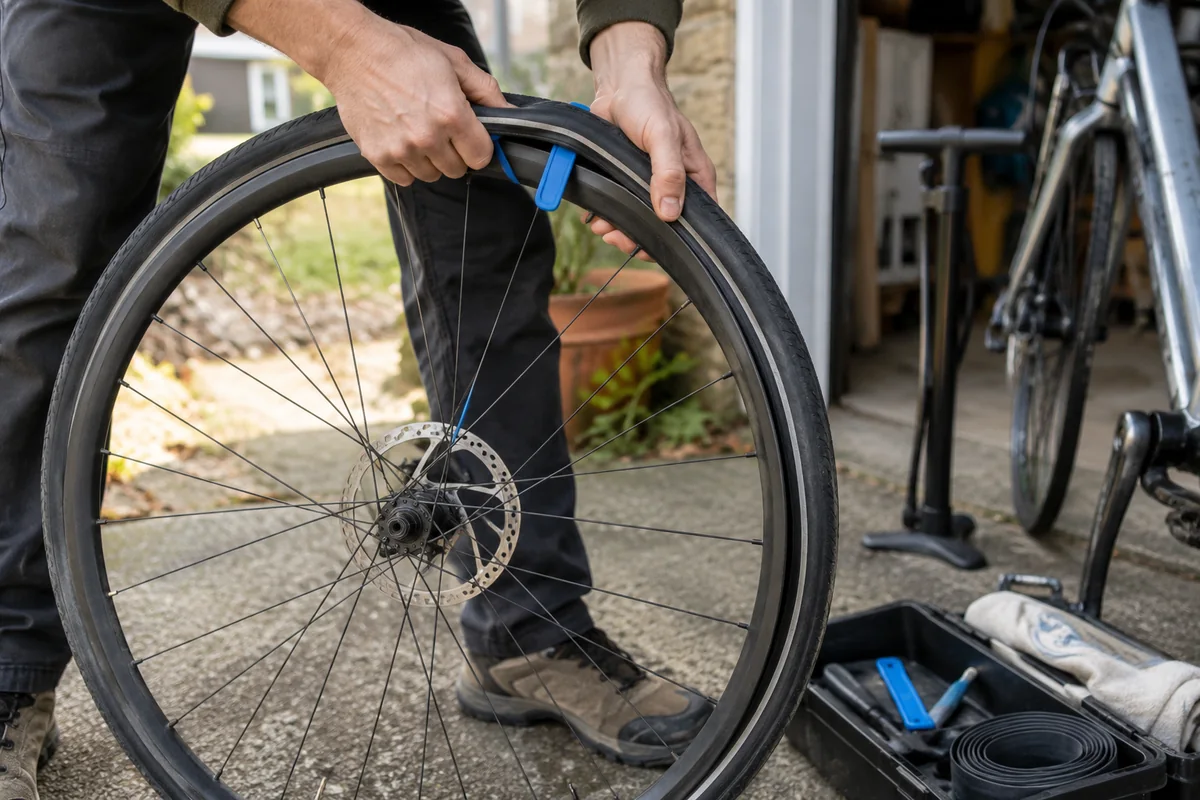
Lift one bead, remove the tube and then remove the second bead.
- 4
Inspect and clean the rim tape and rim bed.
- 5
Fit one bead of the new tyre, insert a lightly inflated tube and fit the second bead.
- 6
Inflate in stages while checking that the bead and tube remain seated.
Opens a search; match the product and check the delivered price. Match wheel diameter, tyre width and rim compatibility; compare single tyres with pairs.
Checks before riding
Inflate in stages and inspect the moulded bead line around both sides of the rim. Refit the wheel using the bicycle maker's method, restore any released brake and spin the wheel to check the tyre clears the frame, fork, guards and brake throughout a full rotation.
- Rotation arrow, if present, points forward
- No tube is visible beneath the bead
- The tyre clears frame, brakes and mudguards
- Wheel retention and brakes are secure
When to use a bike shop
Stop if the bead is damaged, will not remain evenly seated, needs excessive force or is uncertain on a hookless or tubeless rim. Rim damage, inadequate clearance or repeated bead movement needs a qualified mechanic and the relevant tyre and rim instructions.
Check the current guidance
Rules, schemes and product ranges can change. These live links are the authoritative or independent starting points used for this guide.