Bike tyres
Decode sizes, choose a tread and casing for your riding, understand tube and tubeless options, and check rim, frame and pressure limits.
Find the right replacement component for the bicycle you actually own. Start with the standard, measurement and fitted part, then compare performance, service life and the work required to install it safely.
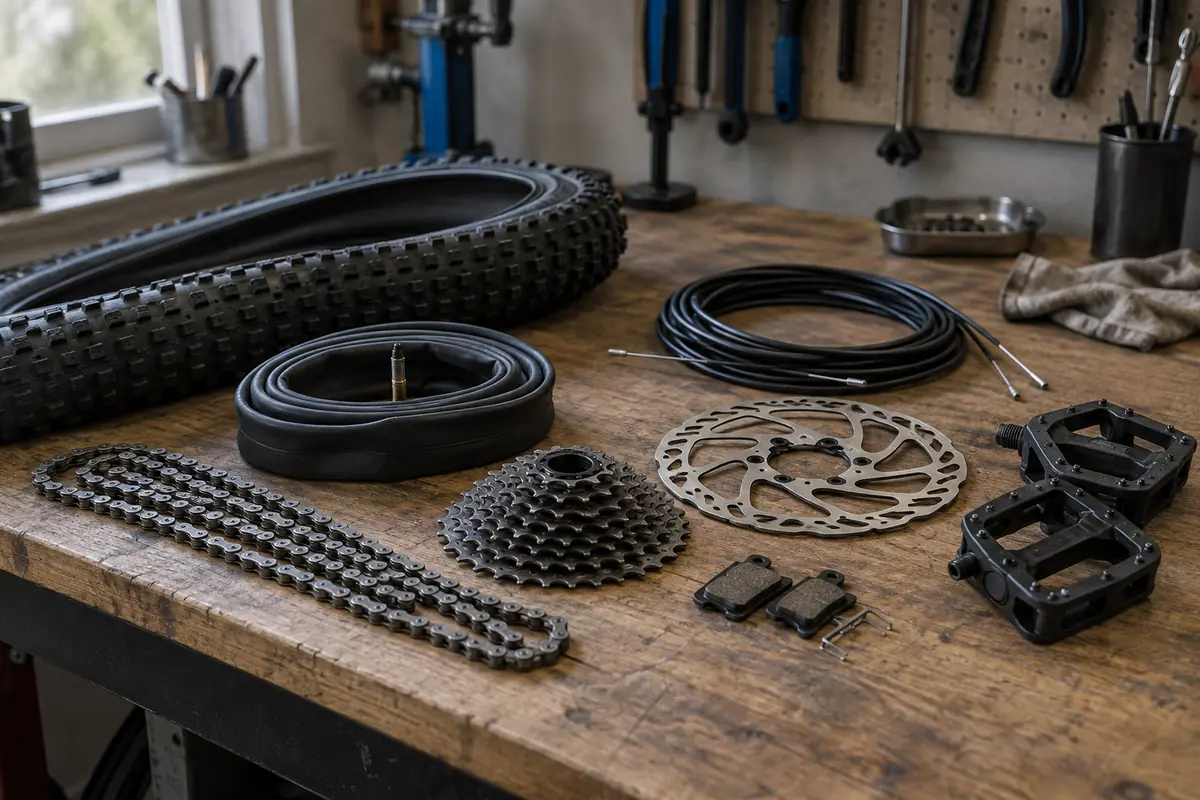
The first complete category is tyres. The hub will expand around distinct component systems, rather than creating a thin page for every individual part name.
Decode sizes, choose a tread and casing for your riding, understand tube and tubeless options, and check rim, frame and pressure limits.
Brake pads, rotors, cables, hoses and complete brake systems need their own compatibility checks. Pad shape and brake type matter more than a generic “bike brake” description.
Chains, cassettes, freewheels, chainrings, bottom brackets and derailleurs must match the bicycle’s speeds, fittings, chainline and intended use.
Wheel diameter is only the beginning. Axle type, spacing, brake interface, freehub, rim width and permitted system weight can all decide compatibility.
Compare currently covered tube options while checking the tyre diameter, supported width range and valve type against the wheel.
Batteries, chargers, motors, controllers, displays and sensors need system-specific guidance, so they sit in a dedicated hub rather than inside conventional parts.
A familiar label such as “700C tyre”, “nine-speed chain” or “disc-brake pad” rarely supplies every measurement needed. Photograph the fitted part, copy its markings and record the bicycle make, model, size and approximate model year. If the bike has already been modified, the current component can matter more than the original catalogue specification.
Check the interfaces on both sides of the replacement. A cassette must suit the freehub and the rest of the transmission. A tyre must suit the rim diameter and width while clearing the frame, fork, mudguards and brakes. A disc rotor must use the correct hub fitting and remain within the frame, fork and calliper limits.
| Area | Warning signs | Next check |
|---|---|---|
| Tyres and tubes | Cuts, exposed casing, repeated punctures, severe cracking, a bulge or a tyre that will not seat correctly | Confirm the exact rim diameter, suitable width, clearance, setup type and permitted pressures |
| Brakes | Poor stopping, contamination, pads at their wear limit, damaged hoses or cables, or a rotor below its limit | Identify brake model and pad shape; inspect the complete system rather than replacing the most visible part only |
| Drivetrain | Chain wear, skipping under load, hooked teeth, stiff links, poor shifting or excessive play | Measure wear and establish whether the chain, cassette or freewheel, chainrings and jockey wheels need to be treated together |
| Wheels and bearings | Loose bearings, cracked rim, damaged spokes, a persistent wobble or play at an axle | Stop riding where structural damage is suspected and have the rim, hub, axle and spoke system assessed |
Not every visible mark means a part is unsafe, and not every dangerous fault is obvious. If you are uncertain about a brake, wheel, fork, handlebar, stem or frame, use a qualified mechanic before riding.
This hub covers components fitted to the bicycle and bought as replacements or upgrades. Cycling gear remains the place for accessories, tools, luggage, lights, covers and commuter equipment. Bike maintenance explains the work, inspection and care involved.
The distinction prevents tyre buying advice from being mixed with bags and lights, while still connecting a part to the tools and repair guides that help people use it. For example, the tyres guide links to puncture repair kits, changing a tyre and repairing a puncture.
Conventional tyres, brakes and drivetrains can still be relevant to an e-bike, but batteries, chargers, motors and controls depend on a matched electrical system. Use the electric bike parts hub for those components.