The short version
- If a step feels uncertain, stop and use a qualified bicycle mechanic.
- Never ride with brakes, steering or wheels that you suspect are unsafe.
- Use the component manufacturer's instructions for torque settings and model-specific procedures.
Before you start
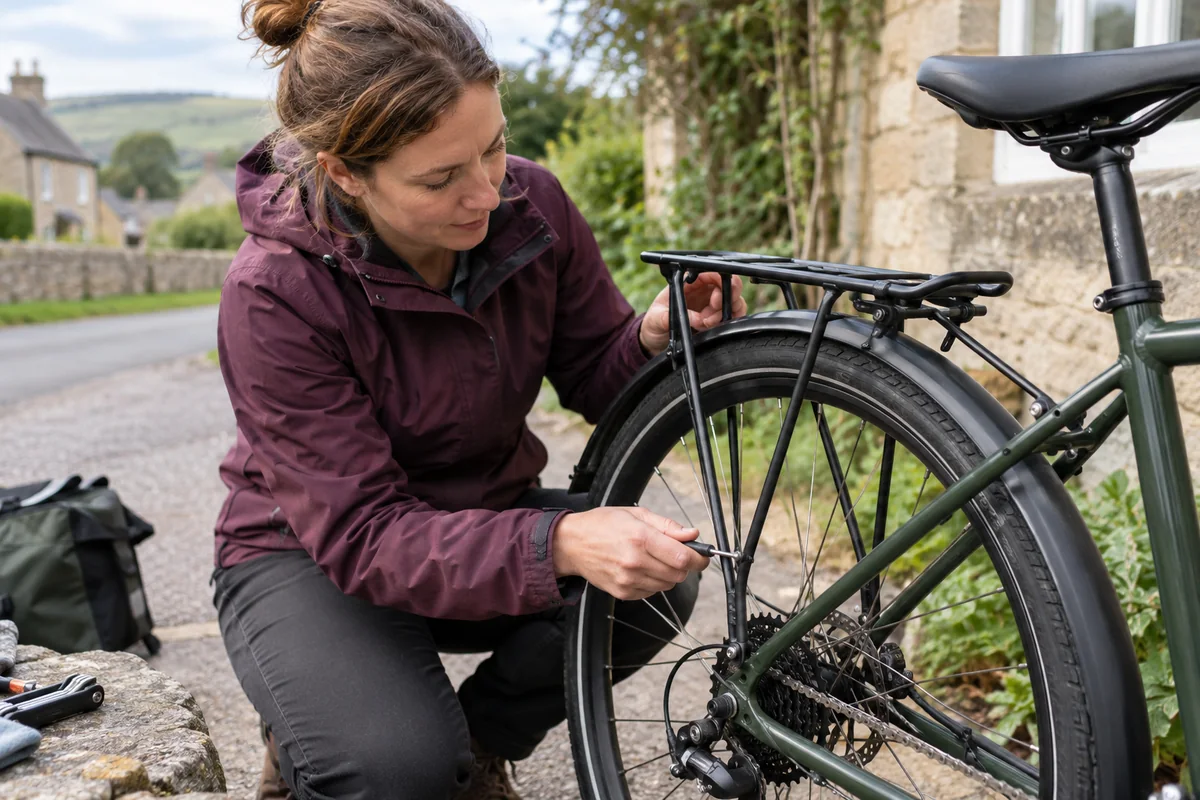
Lay out the rack maker's supplied fittings and confirm which frame points are approved to carry the load. Check brake, axle and suspension compatibility before bending stays or substituting clamps, and obtain explicit approval before attaching anything load-bearing to carbon.
- Use tools that fit the fastener properly
- Keep small parts in removal order
- Do not force a seized or cross-threaded component
- Check the maker's manual for your exact part
Confirm that the frame and rack form an approved system
Identify the bicycle maker's approved lower and upper mounting points before choosing adapters. Eyelets near the axle do not by themselves confirm that a frame, especially a carbon or full-suspension frame, is designed to carry a loaded rack.
Check wheel size, brake and axle clearance, suspension movement and the route of cables or hoses. The rack must remain clear of the tyre through the bicycle's permitted movement, not merely while it is unloaded in a work stand.
Use the lowest load limit stated for the frame, rack and attachment system. A larger platform or stronger-looking bolt does not raise the bicycle maker's limit.
Step by step
- 1
Identify the lower eyelets and upper mounting points approved by the frame maker.
- 2
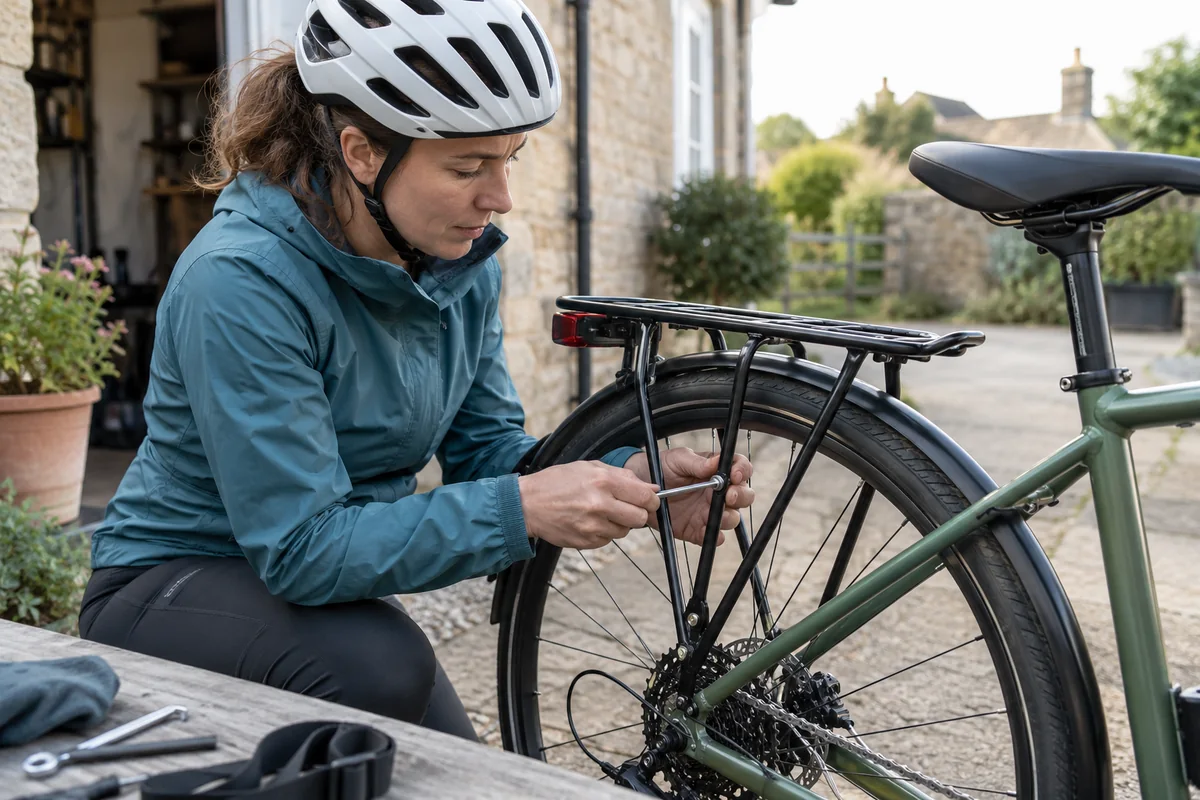
Loosely attach the lower rack legs with the correct hardware.
- 3
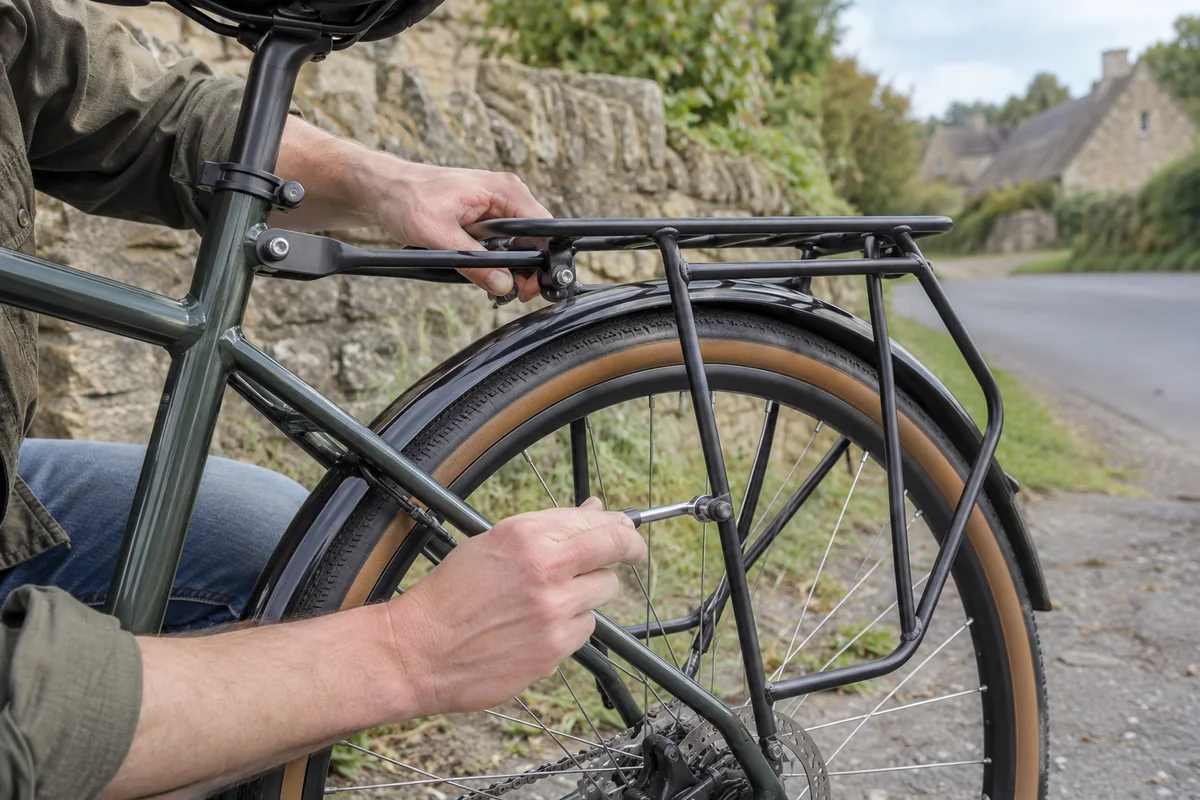
Fit and align the upper stays so the rack platform sits level.
- 4
Check clearance from the tyre, brake, cables and any moving suspension parts.
- 5
Tighten the hardware evenly to the specified torque and fit a pannier with no load.
- 6
Add weight gradually without exceeding the lowest stated limit of rack or frame.
Opens a search; match the product and check the delivered price. Check frame eyelets, brake clearance, load rating and wheel compatibility.
Checks before riding
Test the empty rack first, then add a modest, balanced load and ride slowly away from traffic. Check heel clearance, fasteners, pannier retention, tyre clearance and the visibility of lights and reflectors again after the first loaded journey.
- All bolts are secure
- Nothing can enter the wheel
- Panniers clear your heels
- Lights and reflectors remain visible
When to use a bike shop
Do not improvise around damaged eyelet threads, missing approved mounts, contact with a tyre or brake, or movement under load. A mechanic should assess uncertain frame compatibility and any installation involving suspension movement, unusual axles or proprietary mounting hardware.
Check the current guidance
Rules, schemes and product ranges can change. These live links are the authoritative or independent starting points used for this guide.