The short version
- If a step feels uncertain, stop and use a qualified bicycle mechanic.
- Never ride with brakes, steering or wheels that you suspect are unsafe.
- Use the component manufacturer's instructions for torque settings and model-specific procedures.
Before you start
Seat the wheel correctly, then inspect the rim braking surfaces, pad grooves, cable, housing, noodle and rubber boot. Clean the rim using a method approved by its maker and replace damaged parts before trying to centre the arms around them.
- Use tools that fit the fastener properly
- Keep small parts in removal order
- Do not force a seized or cross-threaded component
- Check the maker's manual for your exact part
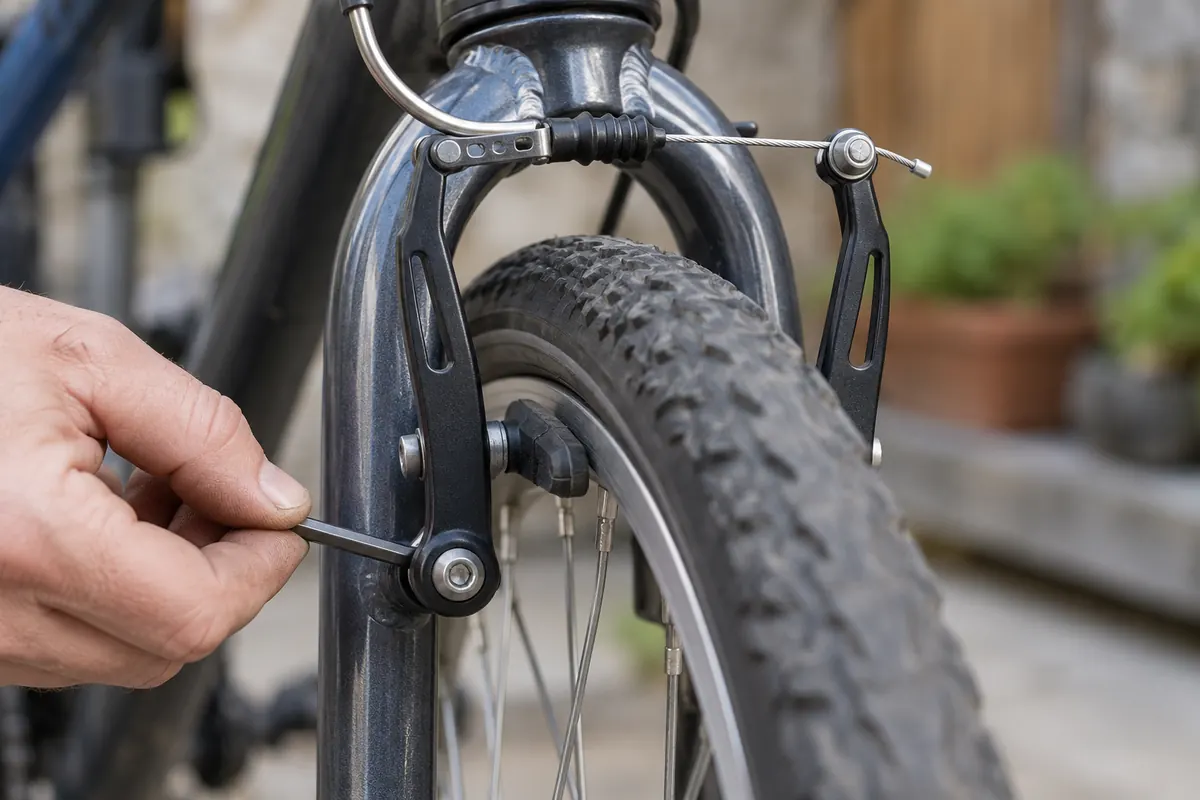
Diagnose pad, cable and rim condition first
Adjustment cannot restore a worn-through pad, frayed cable, cracked noodle or damaged rim. Clean the braking track and confirm each arm returns freely before changing cable tension or spring balance.
The pad must contact only the rim's braking surface and remain clear of the tyre. If the lever still reaches the handlebar after correct pad position and cable tension, stop and inspect the cable, housing and compatible lever setup.
If pad clearance changes as the wheel turns, check whether the rim is out of true before repeatedly altering spring balance. Both arms should return freely; a seized pivot or incompatible lever cannot be corrected by cable tension alone.
Step by step
- 1
Inspect the rim, pads, cable and noodle before adjustment.
- 2
Position each pad flat on the rim braking surface, clear of tyre and rim edge.
- 3
Set cable tension so the lever has comfortable travel.
- 4
Use the spring screws to centre the arms and create even pad clearance.
- 5
Apply the brake firmly several times and recheck every fixing.
Checks before riding
Pull the lever firmly several times while stationary. Both pads must contact only the rim, release clear of it and leave useful lever travel; spin the wheel to distinguish a centring fault from a rim that moves sideways.
- Both pads contact only the rim track
- Both arms return and leave useful clearance
- The lever retains firm travel away from the handlebar
- The wheel and brake cable are secure
When to use a bike shop
Do not ride if a pad can touch the tyre, the lever approaches the handlebar, the cable is frayed, the noodle is cracked or the rim is structurally worn or damaged. Seized pivots and incompatible lever-pull combinations also require repair rather than more cable tension.
Check the current guidance
Rules, schemes and product ranges can change. These live links are the authoritative or independent starting points used for this guide.