The short version
- If a step feels uncertain, stop and use a qualified bicycle mechanic.
- Never ride with brakes, steering or wheels that you suspect are unsafe.
- Use the component manufacturer's instructions for torque settings and model-specific procedures.
Before you start
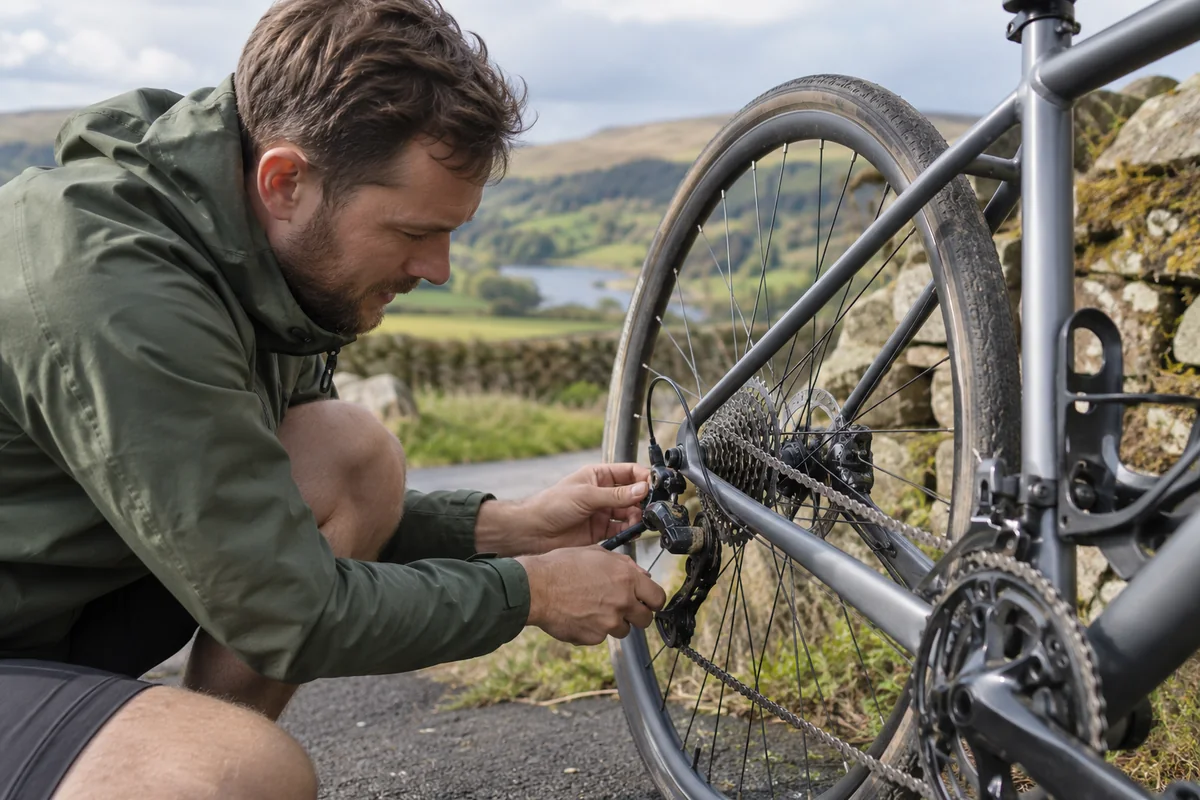
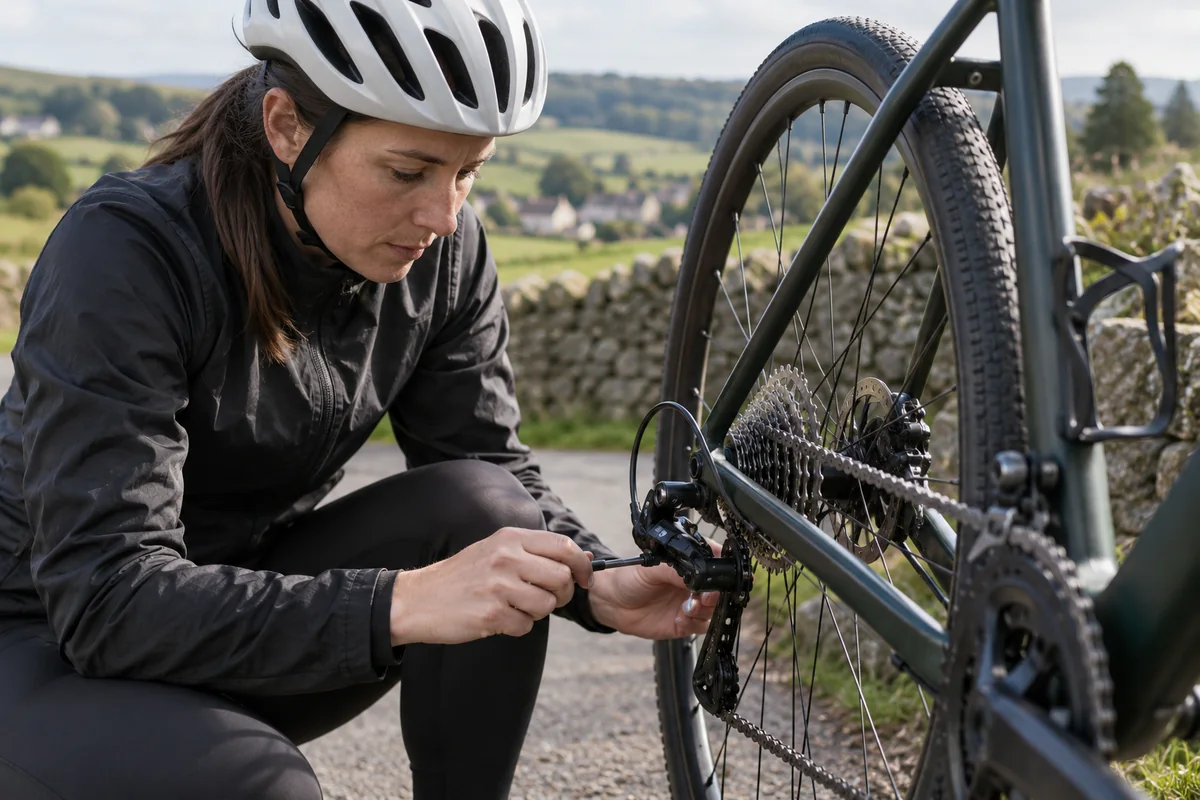
Place the bicycle securely so the drivetrain can turn without the wheel touching the floor. Check wheel seating, cable and housing condition, derailleur and hanger alignment, chain wear and cassette security before touching the barrel adjuster or limit screws.
- Use tools that fit the fastener properly
- Keep small parts in removal order
- Do not force a seized or cross-threaded component
- Check the maker's manual for your exact part
Identify indexing, limit and wear problems separately
Poor shifts between neighbouring sprockets can result from cable tension or friction, but a derailleur that changed after an impact may have a bent hanger. Do not use the barrel adjuster to disguise visible misalignment or force a derailleur towards the spokes.
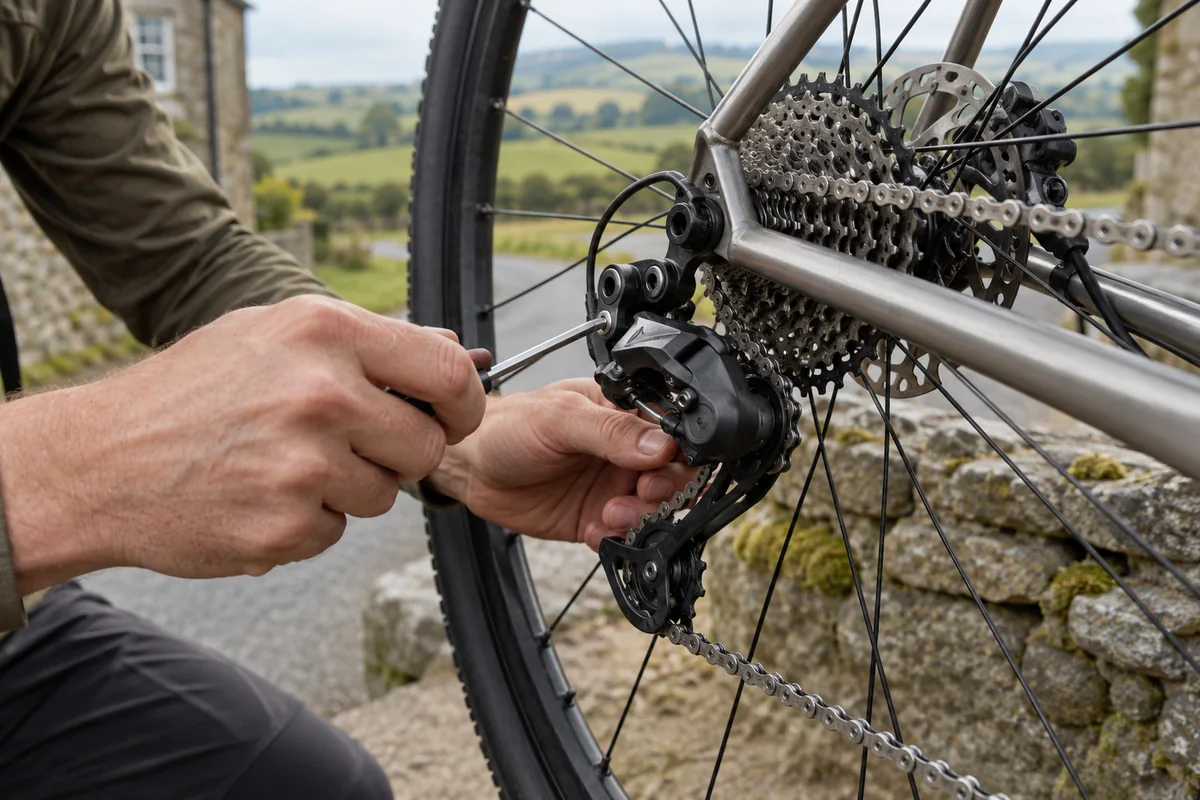
Limit screws control how far the derailleur can travel at the ends of the cassette; they are not routine indexing controls for the middle sprockets. Random skipping under pedal load can also indicate a worn chain or cassette rather than an adjustment fault.
Confirm the wheel is seated, the cassette is secure and the cable housing is intact before changing settings. If several causes are possible, record the original adjustment and change only one control at a time.
Step by step
- 1
Check that the wheel is correctly seated and the derailleur hanger appears straight.
- 2
Inspect the cable and drivetrain for damage or heavy wear.
- 3
Use the barrel adjuster in small increments to improve indexing between adjacent sprockets.
- 4
Confirm the limit screws prevent the chain moving beyond the largest and smallest sprockets.
- 5
Check the guide-pulley gap against the derailleur maker's instructions.
Checks before riding
Pedal by hand and shift one position at a time across the intended cassette range, listening for hesitation in each direction. Confirm the chain cannot travel into the spokes or off the smallest sprocket, then make a cautious low-load ride before testing normal pedalling force.
- One control click produces one clean shift
- The chain remains safely on the cassette at both limits
- The derailleur and cable move without sticking
- A cautious loaded test produces no skipping
When to use a bike shop
Use a mechanic when the hanger or derailleur appears bent, the chain approaches the spokes, the drivetrain skips under load despite clean indexing, or cable movement is rough. Those faults can need alignment tools, replacement parts or wear measurement rather than further screw adjustment.
Check the current guidance
Rules, schemes and product ranges can change. These live links are the authoritative or independent starting points used for this guide.